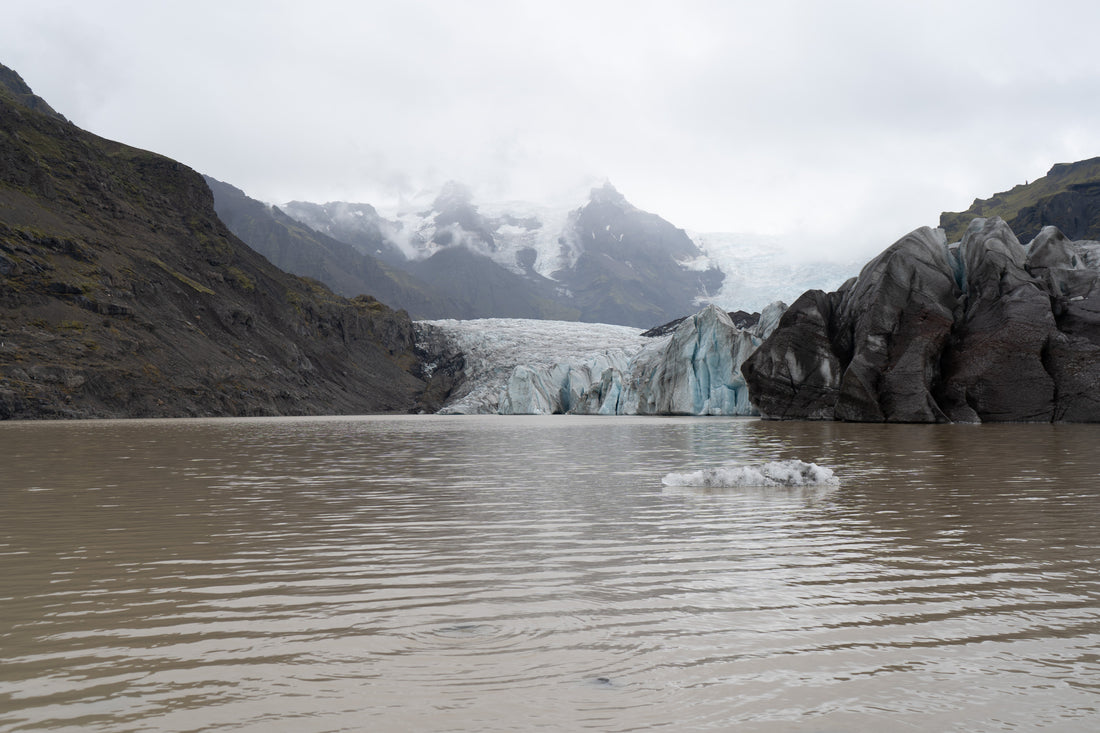
How to Edit Iceland Photos in Lightroom: A Guide to Using Sliders Effectively
Share
Iceland is a dream destination for photographers, offering dramatic landscapes, stunning waterfalls, and breathtaking light conditions. However, editing your photos to bring out their full potential is essential. In this guide, we’ll show you how to use Lightroom sliders to enhance your Iceland photos, step-by-step, while explaining what each slider does to your image.
Step 1: Adjusting the Light Panel

The Light Panel is where you can refine the exposure and tonal balance of your photo. Below are the settings we used, along with explanations:
- Exposure (+0.61): Increases the overall brightness of your photo. This is particularly helpful if your Iceland shot looks underexposed due to moody skies.
- Contrast (+92): Boosts the difference between highlights and shadows, creating a more dynamic and dramatic image. Perfect for emphasizing the textures in volcanic landscapes or ice formations.
- Highlights (-92): Reduces the brightness of the brightest areas, helping to recover details in overexposed skies or snowfields.
- Shadows (+59): Lifts the darker areas, revealing hidden details in the shadowed parts of mountains or cliffs.
- Whites (-90): Lowers the brightest parts even further, ensuring your photo doesn’t look too harsh or blown out.
- Blacks (-22): Deepens the darkest areas, adding contrast and making the image feel richer.
Step 2: Refining Colors in the Color Panel

The Color Panel helps you fine-tune the vibrancy and tone of your photo to bring out Iceland’s unique colors.
- White Balance (Custom): Adjusted to a temperature of 5,600K with a tint of +10 to balance the natural cold tones of Iceland with a subtle warmth, creating a more inviting image.
- Vibrance (+17): Enhances the less saturated colors without over-saturating the already vivid ones. This is ideal for accentuating the blues and greens in waterfalls and glaciers.
- Saturation (+25): Boosts all colors equally, adding vibrancy to your image. Use this carefully to avoid unnatural-looking edits.
Step 3: Adding Texture and Atmosphere with the Effects Panel

The Effects Panel allows you to enhance details and add mood to your photos.
- Texture (+14): Adds crispness to fine details like rocks or ice without affecting the overall smoothness of the image.
- Clarity (+19): Boosts midtone contrast, making the image appear sharper and more detailed, perfect for emphasizing the rugged Icelandic terrain.
- Dehaze (+30): Removes atmospheric haze, bringing clarity to misty or foggy shots.
- Vignette (-31): Darkens the edges of the image slightly, drawing the viewer’s attention to the center. This works great for compositions where you want to emphasize a particular focal point, like a waterfall or glacier.
Step 4: Correcting Lens Distortion in the Optics Panel

The Optics Panel ensures your photo is free from distortions caused by your lens.
- Remove Chromatic Aberration: Eliminates color fringing around edges, which can be common in high-contrast scenes.
- Enable Lens Corrections: Automatically corrects distortion and vignetting caused by your lens. For this photo, we used the profile for the Sony FE 28-70mm lens, with distortion correction and lens vignetting set to 100.
Final Thoughts
Editing your Iceland photos in Lightroom can transform your shots from good to spectacular. By carefully adjusting the Light, Color, Effects, and Optics panels, you can bring out the drama and beauty of Iceland’s landscapes.
These adjustments work well for a variety of scenes, whether you’re capturing the Northern Lights, glaciers, or volcanic craters. Don’t be afraid to experiment with these sliders to create a style that suits your vision!

Sign up for a free trial of Adobe Creative Cloud to get access to Adobe Lightroom as well as a wide variety of creative tools and AI tools for all your Creative needs
